

Summary
28 items · 45–90 minutes
Why the First-Week Walkthrough Matters
Your security deposit — often one to two months' rent — is at stake the moment you sign a lease. Landlords are legally permitted in most states to withhold part or all of your deposit to cover damage that occurred during your tenancy. The catch: if you don't document pre-existing damage before you move in, you may be held responsible for it when you move out.
This walkthrough checklist is designed to be completed before you unpack a single box. Think of it as building your legal paper trail on day one. If you're still in the planning stage, the introduction to apartment renting for students covers what to expect before you ever reach move-in day.
Once you've finished the inspection, you'll also want to think about the habits that protect your space long-term — the habits that prevent common rental maintenance problems is a natural next step.
Complete This Before You Bring Anything Inside
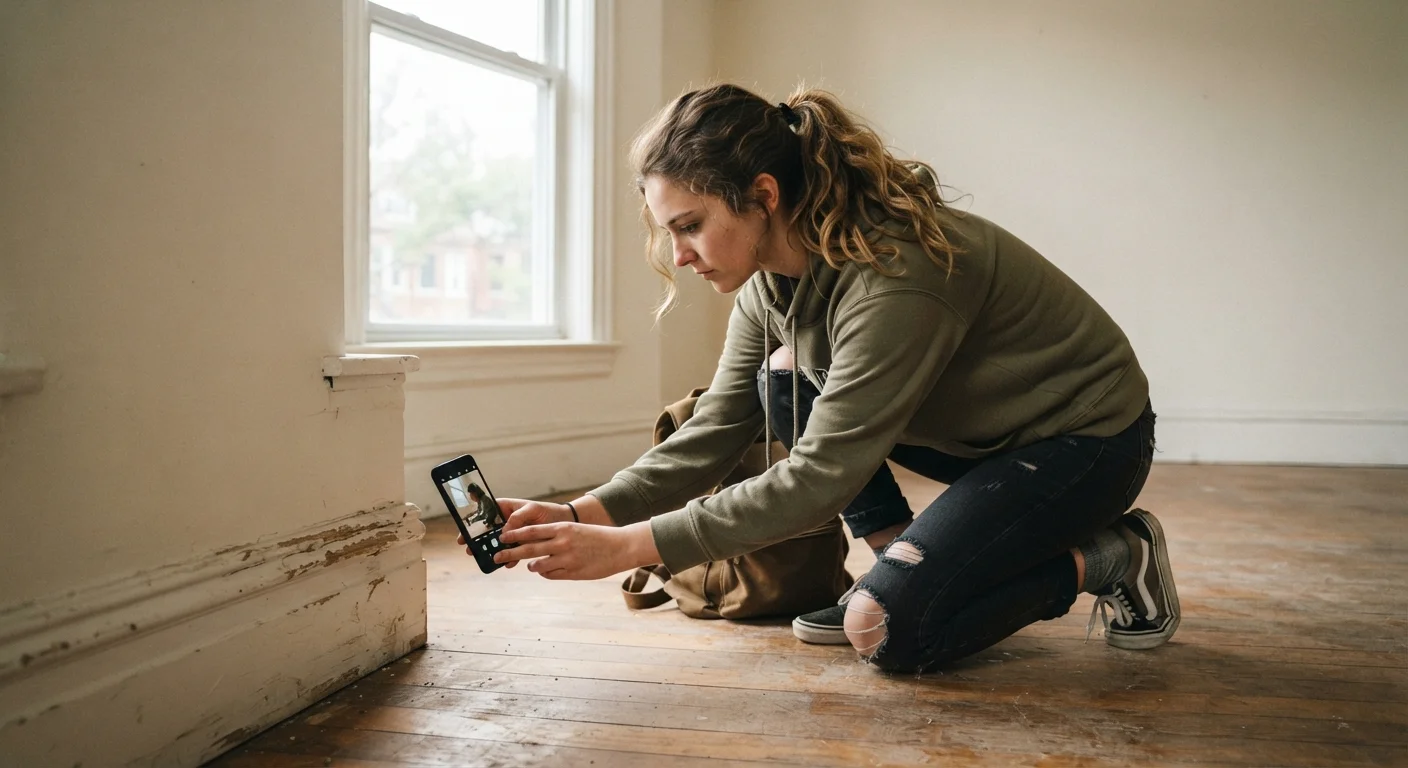
Once furniture and boxes are in the room, it becomes much harder to document pre-existing wall scuffs, floor scratches, and carpet stains accurately. Even dragging a suitcase across a hardwood floor can leave a mark. Walk through with your camera before your first trip from the moving vehicle — this single step is the most protective thing you can do for your deposit.
What You'll Need for the Inspection
Gather these tools before you start. Having them ready means you won't skip steps mid-walkthrough.
Smartphone with Camera
Take timestamped photos and video of every room and any pre-existing damage.
Cloud Storage Account
Back up all photos immediately so they cannot be lost or altered.
Move-In Inspection Form
Record written notes about each flaw room by room; use one provided by the landlord or create your own.
Flashlight or Phone Torch
Illuminate dark corners, closets, and under-sink cabinets to spot stains or damage.
Phone Charger or Small Plug-In Device
Test every electrical outlet to confirm it is live and functional.
Notepad or Notes App
Record verbal conversations with your landlord during the walkthrough for your own reference.
Room-by-Room Inspection Checklist
Work through each group systematically. Flag every issue — even minor scuffs or small stains — because small details become big disputes at move-out. Use your phone to photograph each problem as you note it; label or describe each photo immediately so you can identify it months later.
If you're moving into student housing rather than a private rental, compare this process to the dorm room move-in checklist — the documentation principles are similar even if the stakes differ.
Entire Unit — General
Kitchen
Bathroom(s)
Bedroom(s) and Closets
Entry, Doors, and Security
Heating, Cooling, and Utilities
Verbal Agreements Are Not Enough
If your landlord verbally acknowledges a damaged wall or a broken fixture during the walkthrough, that conversation alone may not protect you at move-out. Always follow up verbal acknowledgments with a written message — even a simple email summary sent the same day creates a dated record. Do not assume good faith means good memory.
Don't Wait If Something Seems Unsafe
If you discover a non-functioning smoke detector, a gas smell, exposed wiring, or any condition that poses a safety risk, notify your landlord in writing immediately and request prompt repair. Do not attempt to fix electrical, gas, or structural issues yourself — these require licensed professionals and may involve local code compliance.
After the Walkthrough: Submitting Your Report
Completing the inspection is only half the job. Follow these steps to make your documentation count:
- Compile your photos into a clearly labeled folder (e.g., by room) and back them up to cloud storage immediately. The file metadata will show timestamps that confirm when photos were taken.
- Fill out any move-in inspection form your landlord provides. If none is given, write your own — a simple list by room with descriptions of each flaw is sufficient.
- Send it in writing to your landlord or property manager via email so you have a dated record. Attach your photos or a shared folder link. Request a written acknowledgment.
- Keep your own copy somewhere safe and separate from your email inbox — a cloud folder or printed copy works well.
Some states have specific deadlines for submitting move-in condition reports; check your lease and local tenant rights resources to confirm any applicable timeframe. This process pairs directly with the move-in day checklist for first-time renters for a complete picture of what day one should look like.
This article provides general educational information about rental documentation practices and is not legal advice. Tenant rights and landlord obligations vary by state and locality. Consult a local tenant advocacy organization or licensed attorney for guidance specific to your situation.
The content provided on our blog site traverses numerous categories, offering readers valuable and practical information. Readers can use the editorial team’s research and data to gain more insights into their topics of interest. However, they are requested not to treat the articles as conclusive. The website team cannot be held responsible for differences in data or inaccuracies found across other platforms. Please also note that the site might also miss out on various schemes and offers available that the readers may find more beneficial than the ones we cover.