

Why This Repair Matters Before Move-Out
Nail holes, picture-hanging damage, and small dings are among the most common reasons landlords deduct from student security deposits. In most states, landlords can legally charge for repairs that go beyond normal wear and tear — and a wall riddled with unfilled holes often qualifies. The good news: patching small holes is a straightforward skill that takes under an hour once you've gathered the right supplies.
Before you start, it's worth clarifying what falls under your responsibility. Our guide on deciding between DIY repairs and waiting for your landlord can help you figure out whether a repair is yours to handle or something your landlord should address. For anything beyond a small hole — think cracks running along seams, water-stained drywall, or holes larger than roughly half an inch — report it rather than attempt it yourself. See our article on what to report and how for those situations.
Check Your Lease Before You Start
Some rental agreements prohibit tenants from making any repairs without prior landlord approval, even minor ones. Review your lease and, if in doubt, send a quick written message to your landlord before picking up a putty knife. For guidance on which fixes are generally your responsibility versus your landlord's, see our breakdown of tenant vs. landlord repair responsibilities.
Here's what you'll need before getting started:
What you will need
Lightweight spackle or pre-mixed joint compound
Fills the hole and creates a smooth, paintable surface.
Putty knife or plastic spreader
Applies and levels the spackle flush with the wall surface.
Fine-grit sandpaper (120–220 grit)
Smooths the dried patch so it blends seamlessly with surrounding drywall.
Damp cloth or sponge
Cleans dust and debris from the repair area before and after sanding.
Matching interior wall paint
Covers the patched area so the repair is invisible after it dries.
Small paintbrush or foam applicator
Applies paint precisely to the patched spot without disturbing surrounding wall finish.
Primer (spray or brush-on)
Seals the spackle so paint adheres evenly without a dull spot showing through.
Step-by-Step: Filling the Hole
Clean and Prepare the Hole
Use your fingers or a putty knife tip to gently remove any loose paper facing, crumbled drywall, or old nail anchors around the hole. Wipe the surrounding area with a damp cloth and let it dry completely. A clean, dry surface ensures the spackle bonds properly and doesn't crack later.
Apply the First Coat of Spackle
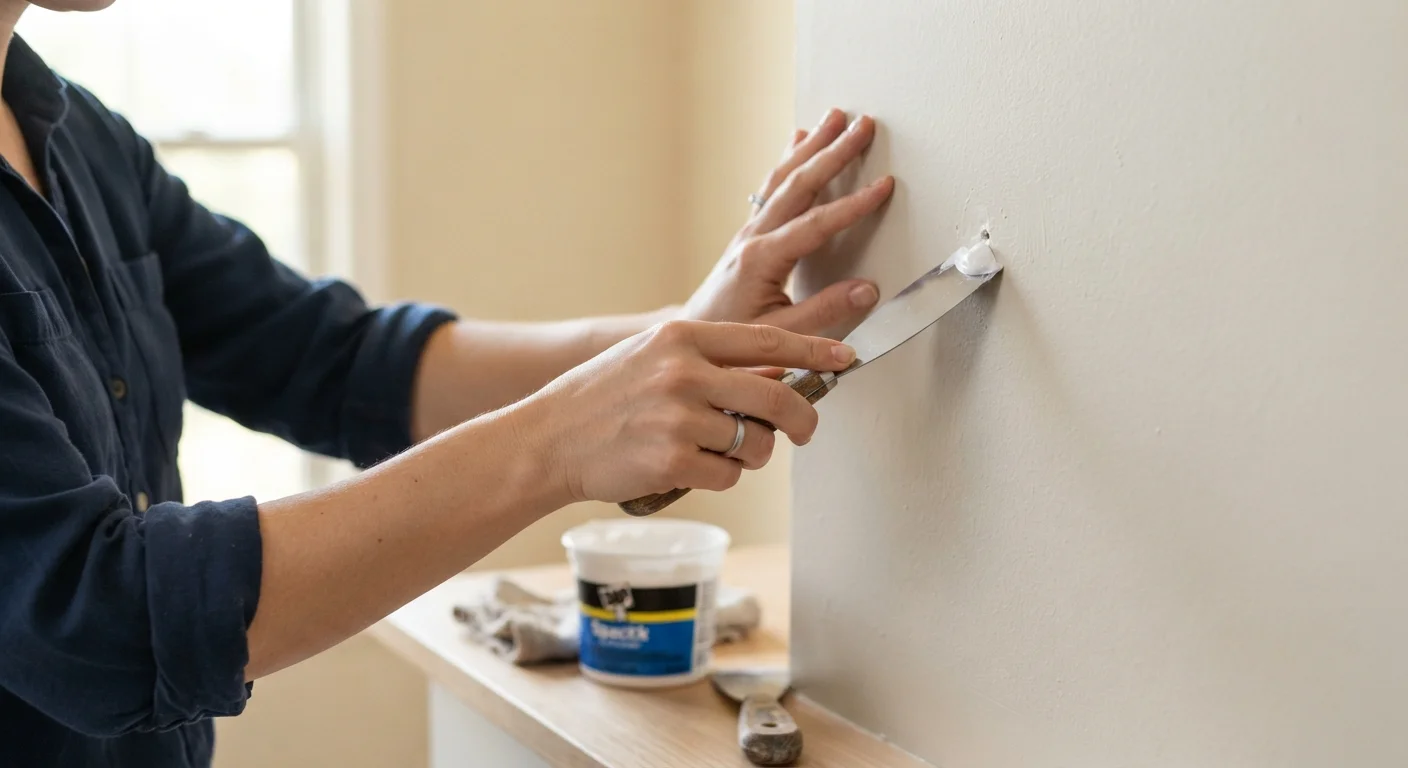
Load a small amount of lightweight spackle onto your putty knife blade. Press the compound firmly into the hole using a diagonal stroke, then drag the blade flat across the surface to remove the excess. The goal is to fill the hole without leaving a visible mound — the patch should be nearly flush with the wall immediately after application.
Let It Dry Fully
Most lightweight spackles dry in 30 minutes to a few hours depending on temperature, humidity, and hole depth. The patch will shift from the color of wet compound (usually pink or gray) to bright white when dry. Do not rush this step — touching or sanding damp compound will pull material out of the hole and force you to start over.
Sand Until Smooth
Once the compound is completely dry, fold a small piece of fine-grit sandpaper (120–220 grit) and lightly sand the patch in a circular motion. You want the repaired area to feel level with the surrounding wall when you run a finger across it. Wipe away all dust with a damp cloth and allow the surface to dry again before painting.
Prime the Patch (Recommended)
Bare spackle is porous and absorbs paint differently than the surrounding wall, which can leave a dull, slightly sunken-looking spot even after painting. Applying a thin coat of primer — either a brush-on or spray primer — seals the patch and gives you an even base. Let the primer dry per the product's label before proceeding.
Paint to Match
Using a small paintbrush or foam applicator, dab matching paint onto the primed patch. Apply in thin layers, letting each dry before assessing whether another coat is needed. Feather the edges slightly beyond the patch area so the paint blends into the surrounding wall rather than creating a visible circle. Step back and check the finish under different lighting before calling it done.
Don't Over-Apply Spackle in One Pass
Piling on too much compound at once causes the patch to crack or shrink as it dries. Apply a thin layer, let it dry completely, then add a second thin coat if the hole still shows a slight depression. Patience here prevents a visible, lumpy repair that will stand out under paint.
Matching Paint Is Easier Than You Think
Take a photo of your wall in good natural light before move-in and keep a note of any paint color names visible on leftover cans in storage areas. Even without that, most hardware stores can color-match paint from a small chip. A foam brush or cotton swab works well for dabbing paint onto a tiny patch without leaving roller texture marks.
After the paint dries, inspect the repair in both direct and raking light. A well-done patch should be invisible from a normal viewing distance. If you're building good habits around your rental more broadly, our article on habits that prevent common rental maintenance problems offers practical routines worth adopting from day one of your tenancy.
This article provides general home maintenance information for educational purposes. Results may vary depending on wall material, paint type, and the size or nature of the damage. When in doubt about the scope of a repair, consult your landlord or a qualified professional before proceeding.
The content provided on our blog site traverses numerous categories, offering readers valuable and practical information. Readers can use the editorial team’s research and data to gain more insights into their topics of interest. However, they are requested not to treat the articles as conclusive. The website team cannot be held responsible for differences in data or inaccuracies found across other platforms. Please also note that the site might also miss out on various schemes and offers available that the readers may find more beneficial than the ones we cover.