

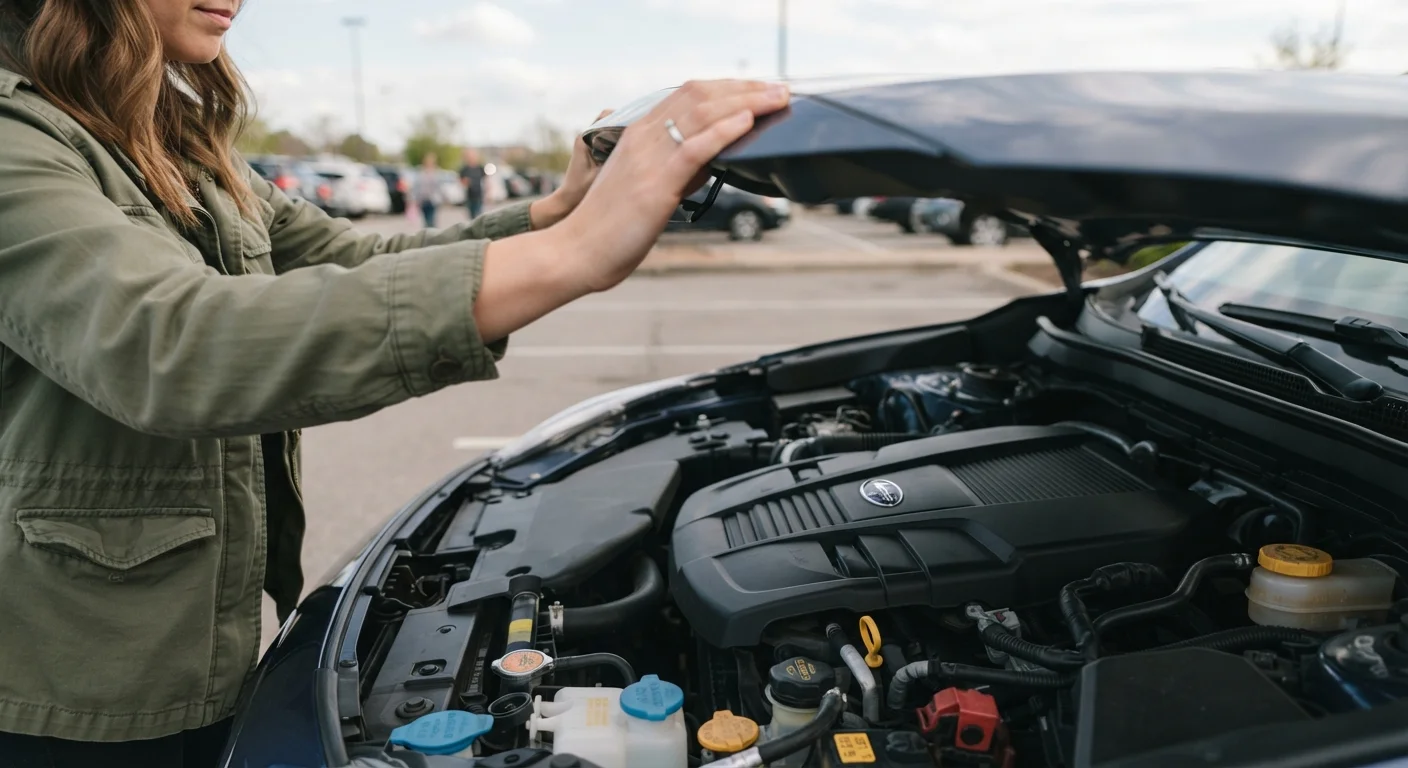
Why Fluid Checks Matter for Student Car Owners
A car's fluids do the unglamorous but essential work of lubricating moving parts, regulating temperature, and transmitting force through critical systems. When levels drop too low - or when a fluid degrades - components wear faster, warning lights appear, and repairs get expensive fast.
The good news: fluid checks require no tools, cost nothing, and take fewer than 20 minutes. Building this habit monthly can help you catch small problems before they become large ones. For a broader look at how routine maintenance spending compares to repair costs, see what routine car maintenance actually costs.
What you will need
What You'll Need Before You Start
Gather these items before opening the hood. Having them ready makes the process faster and keeps your hands clean.
Owner's Manual
Identifies each fluid reservoir location, the correct fluid spec for your car, and recommended check intervals.
Lint-Free Rags or Paper Towels
Wipe the oil dipstick clean before taking a reading, and clean up any drips.
Small Flashlight
Helps you see fluid levels and colours clearly inside dark reservoirs.
Nitrile Gloves
Protects your hands from fluids, some of which are toxic or irritating to skin.
Park on a level surface and let the engine cool for at least 30 minutes before checking fluids. Heat causes metal components and fluid levels to expand, which can produce misleading readings - and hot surfaces can cause burns.
Always Check Fluids on a Cold Engine
Attempting to check fluids - especially coolant - on a hot engine creates a burn risk from pressurized steam or boiling liquid. Components also expand when warm, making level readings less reliable. Wait at least 30 minutes after driving before opening the hood to perform checks.
Step-by-Step: Checking Each Fluid
Work through each fluid in the order below. Your owner's manual will show the exact location of each reservoir if you're unsure - reservoirs are usually labelled with small icons moulded into the caps.
Check Engine Oil
Locate the oil dipstick - it typically has a brightly coloured handle (yellow or orange) near the front of the engine. Pull it out, wipe it clean with a rag, reinsert it fully, then pull it out again. The oil level should fall between the two marks at the bottom of the dipstick (labelled MIN and MAX, or similar). Note the colour as well as the level.
Check Coolant (Engine Coolant / Antifreeze)
Find the coolant reservoir - a translucent plastic tank, usually near the radiator, with MIN and MAX lines visible from the outside. You do not need to open it during a routine check; simply read the level through the side of the tank. If you do need to open the radiator cap directly, only do so when the engine is completely cold.
Check Brake Fluid
The brake fluid reservoir is a small, semi-transparent plastic container on top of the brake master cylinder, located near the firewall on the driver's side of the engine bay. Read the level against the MIN and MAX markings on the outside. The fluid should appear light yellow and clear through the reservoir wall.
Check Transmission Fluid
Many automatic transmissions have a dipstick similar to the engine oil dipstick. With some newer vehicles, transmission fluid is sealed and checked only by a mechanic - your owner's manual will clarify which applies to your car. If a dipstick is present, follow the same wipe-reinsert-read process as with engine oil, checking both level and colour.
Check Power Steering Fluid
On vehicles with hydraulic power steering, locate the power steering fluid reservoir (check your manual for its location - it varies widely). Many reservoirs have a dipstick attached to the cap, or MIN/MAX markings on the outside. Note that electric power steering systems, common on newer cars, do not have this reservoir at all.
Check Windshield Washer Fluid
The windshield washer reservoir is the easiest to identify - it typically has a blue or clear cap marked with a windshield icon. This is the only fluid you can safely top up using tap water in a pinch, but a washer fluid solution is better because it contains cleaning agents and freeze protection. Fill to just below the neck of the reservoir.
If a dashboard warning light appears during or after your checks, cross-reference it with your car's dashboard warning light guide to understand what action to take.
Reading the Results: What's Normal vs. a Warning Sign
Once you know what each fluid should look like, spotting problems becomes straightforward.
- Engine oil: Should appear amber to light brown on the dipstick. Black, gritty oil means it's overdue for a change. Milky or foamy oil can indicate coolant mixing in - see a mechanic promptly.
- Coolant: Should be green, orange, or pink depending on type, and should be clear rather than murky. Rust-coloured coolant suggests contamination.
- Brake fluid: Should be light yellow and clear. Dark brown fluid means it has absorbed moisture and should be flushed. A low level - especially one that keeps dropping - may indicate a leak.
- Transmission fluid: Should be bright red and smell slightly sweet. Dark brown or burnt-smelling fluid needs attention.
- Power steering fluid: Should be clear or light amber. Foamy or dark fluid indicates a potential leak or contamination.
Brake Fluid Needs Immediate Attention If Low
Unlike other fluids, a consistently low brake fluid level often signals a leak somewhere in the braking system - not just normal consumption. Brake failure is a serious safety risk. If topping up the fluid doesn't hold the level steady, or if you notice the brake pedal feeling soft, take the car to a qualified mechanic before driving it further.
Making fluid checks part of a broader pre-trip habit is worthwhile. A first-time owner's pre-journey check covers additional items like tires and lights you can fold into the same routine. You may also want to review what mechanics actually recommend to avoid common misconceptions about fluid change intervals.
Make It a Monthly Habit
Pairing fluid checks with a recurring calendar reminder - the first weekend of each month, for example - makes it easy to stay consistent. It also creates a mental record of how quickly each fluid depletes, which can alert you to a developing leak or consumption problem early. A car-ready checklist before each semester is another good anchor point for more thorough checks.
The content provided on our blog site traverses numerous categories, offering readers valuable and practical information. Readers can use the editorial team’s research and data to gain more insights into their topics of interest. However, they are requested not to treat the articles as conclusive. The website team cannot be held responsible for differences in data or inaccuracies found across other platforms. Please also note that the site might also miss out on various schemes and offers available that the readers may find more beneficial than the ones we cover.