

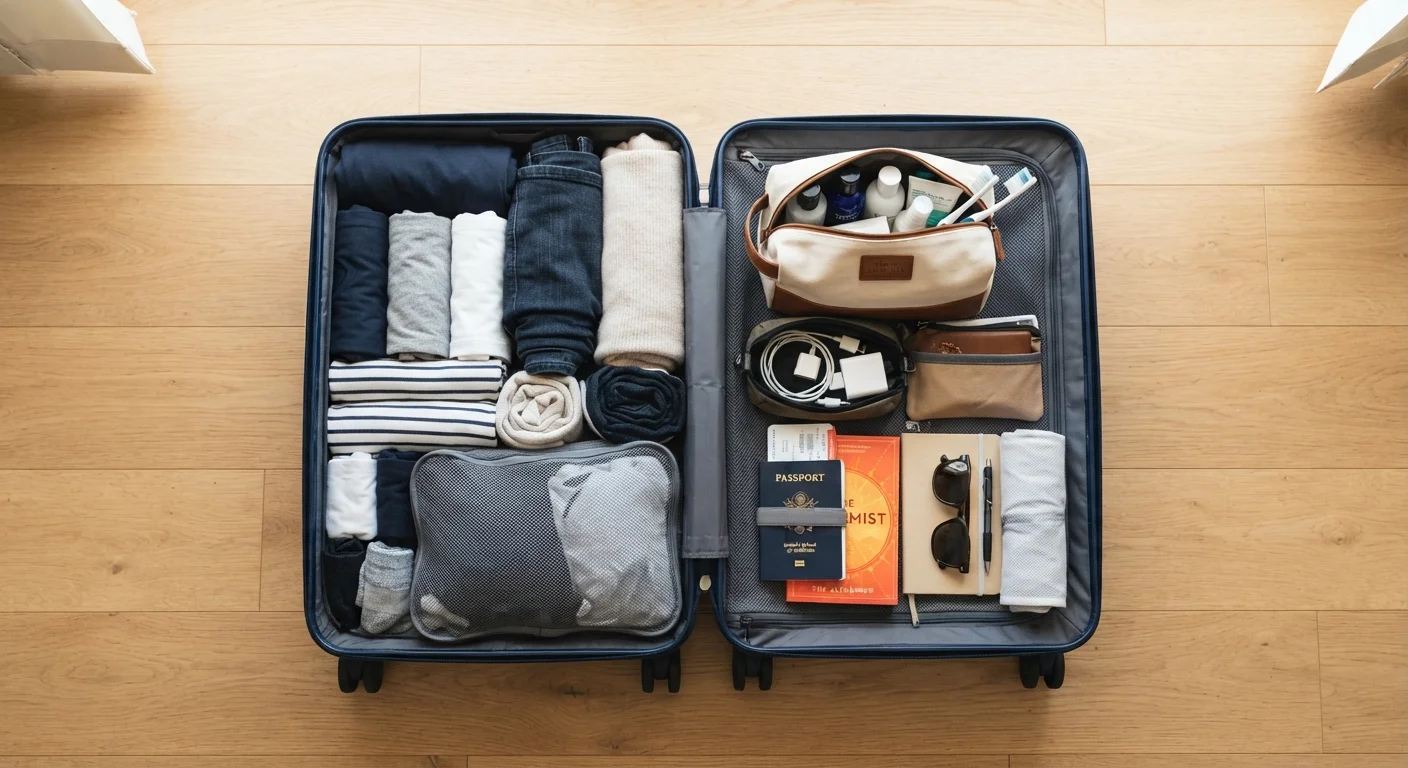
Why Carry-On Only Is Worth the Effort
Checked bag fees on budget US carriers typically run $30–$45 each way per bag. On a round trip, that's up to $90 gone before you've bought a single meal. For students watching every dollar, that money is better spent on experiences. Beyond the cost, checking a bag means waiting at baggage claim, risking lost luggage, and losing flexibility for spontaneous schedule changes.
Carry-on only travel is a learnable skill, not a talent. The students who do it consistently aren't packing less — they're packing smarter. Before you start stuffing a bag, take ten minutes to plan. That planning time is what this guide covers.
If you're still in the early stages of trip planning, the framework for first-time student travellers walks through budgeting and booking before you get to packing decisions.
What you will need
What You Need Before You Start Packing
Getting your bag right starts with knowing the rules of your specific airline. Carry-on size limits vary — a bag accepted on one carrier may be gate-checked on another. Always check the airline's current size and weight policy directly on their website before purchasing or packing. Most US carriers allow a standard carry-on around 22 × 14 × 9 inches, but budget and international carriers often allow less.
Carry-on bag (airline-compliant size)
The primary bag for all clothing and gear — must meet your specific airline's size policy.
Personal item backpack or tote
Fits under the seat and holds electronics, documents, and items you'll access during the flight.
Packing cubes
Compress and organise clothing inside your bag, making it easier to find items and fit more in.
Quart-sized clear zip bag
Required for carrying liquids through TSA security checkpoints in the US.
Travel-size toiletry containers
Reduce liquid volume so your toiletry kit clears TSA limits without checked-bag workarounds.
Once you know your limits, build your packing list around your destination's weather, your trip length, and your planned activities — in that order. A four-day city trip and a four-day hiking trip require different contents, even if both fit in the same bag.
Step-by-Step: How to Pack a Carry-On for Any Trip
Follow these steps in order. Skipping ahead — especially step 2 — is the most common reason students end up gate-checking a bag they thought would fit.
Write your packing list before touching your bag
On paper or a notes app, list every item you think you need. Then go through the list and challenge each item: Will I actually use this at least twice? If the honest answer is no, remove it. This step prevents the reflex of grabbing things just in case.
Verify your bag meets your airline's size rules
Pull up your airline's website and check the exact carry-on dimensions and weight limit for your fare class. Budget carriers and international legs often have stricter limits than domestic US routes. Measure your bag if you're unsure — don't guess.
Wear your bulkiest items on travel day
Boots, a heavy jacket, thick jeans, and a chunky sweater can collectively take up a third of your carry-on. Wear them instead. On the plane, your jacket can go in the overhead bin or on your lap. This single habit frees the most space for everything else.
Roll clothing and use packing cubes
Rolling clothes (rather than folding) typically reduces bulk by 20–30% and makes it easier to see what's in your bag without unpacking everything. Place rolled items vertically in packing cubes so you can see each piece at a glance. Fill cubes firmly but not so tightly that zipping them distorts your bag's shape.
Pack your toiletry kit last and keep it TSA-ready
Assemble your clear quart-sized bag with all liquids in containers of 3.4 oz or less. Solid alternatives — shampoo bars, solid deodorant, powdered sunscreen — bypass the liquid rule entirely and often last longer per use. Place the toiletry bag on top of everything in your carry-on so it's easy to pull out at security.
Do a final weight and size check before leaving
Lift your packed bag and hold it at arm's length for ten seconds. If it's already straining you on the ground, it will be a problem in the overhead bin. Use a luggage scale or a standard bathroom scale (weigh yourself, then weigh yourself holding the bag) to confirm you're within your airline's limit. Do this the night before you travel, not at the airport.
The One-Week Rule Works for Longer Trips Too
Most experienced carry-on travellers use the same packing list for a 5-day trip as a 14-day trip. The difference is planning to do laundry once or twice, which is usually cheaper and easier than paying bag fees on every flight. Many hostels and laundromats near tourist areas offer coin-operated or service wash options at low cost.
Avoiding the Most Common Carry-On Mistakes
The single biggest culprit behind overpacking is optionality thinking — packing items for scenarios that probably won't happen. A backup formal outfit for a trip that has no formal events is dead weight. Pack for the trip you're actually taking.
Toiletries are the second-biggest problem. TSA rules in the US limit liquids to containers of 3.4 oz (100 ml) or less, all fitting in a single quart-sized clear bag. Many students pack full-size bottles out of habit. Switching to travel-size containers or solid alternatives (shampoo bars, solid sunscreen) removes this obstacle entirely.
Don't Pack Valuables in Your Carry-On Overhead Bin
Laptops, passports, medications, and anything you can't replace easily should stay in your personal item under the seat in front of you — not in the overhead bin. Overhead bins are occasionally opened by other passengers or airline staff during the flight. Keeping irreplaceable items within arm's reach is a basic precaution worth taking on every trip.
If you're travelling as part of a group, coordinate who brings shared items like a travel adapter or small first aid kit. Splitting those across bags saves everyone space. For more on making shared logistics work, see coordinating group travel effectively.
Finally, remember that your personal item — typically a backpack or tote that fits under the seat — is your overflow zone. Electronics, a day bag, and your most-used items belong there, keeping your overhead carry-on lighter and easier to manage.
Once your bag strategy is locked in, run through the student pre-departure checklist to make sure documents, insurance, and money are sorted before you leave campus.
The content provided on our blog site traverses numerous categories, offering readers valuable and practical information. Readers can use the editorial team’s research and data to gain more insights into their topics of interest. However, they are requested not to treat the articles as conclusive. The website team cannot be held responsible for differences in data or inaccuracies found across other platforms. Please also note that the site might also miss out on various schemes and offers available that the readers may find more beneficial than the ones we cover.